This is the multi-page printable view of this section. Click here to print.
Feature List
- 1: Basic Features: Zoom, Aperture, Exposure
- 2: Focus Control
- 3: Position and Orientation Control
- 4: Other Features
1 - Basic Features: Zoom, Aperture, Exposure
Zoom
-
 VirtualLens2
-
 Zoom
Zoom
Zoom controls the lens’s focal length (angle of view or magnification). The focal length can be adjusted within the range specified during setup, from “Min Focal Length” to “Max Focal Length.”

Aperture
-
VirtualLens2
-
 Aperture
Aperture controls the lens’s aperture size (F-number, depth of field). The F-number can be adjusted within the range specified during setup, from “Min F Number” to “Max F Number.” When the value is 0%, the blur effect from depth of field simulation is disabled.

Exposure
-
VirtualLens2
-
 Image Control
-
 Exposure
Exposure controls the brightness of the image. The exposure value can be adjusted within the range specified during setup, within the “Exposure Range.” When the value is set at 50%, there is no exposure compensation (0EV).

2 - Focus Control
Autofocus Modes
VirtualLens2 provides three autofocus modes:
Point AF
-
VirtualLens2
-
Image Control
-
 Focus Control
-
AF Mode
-
 Point AF
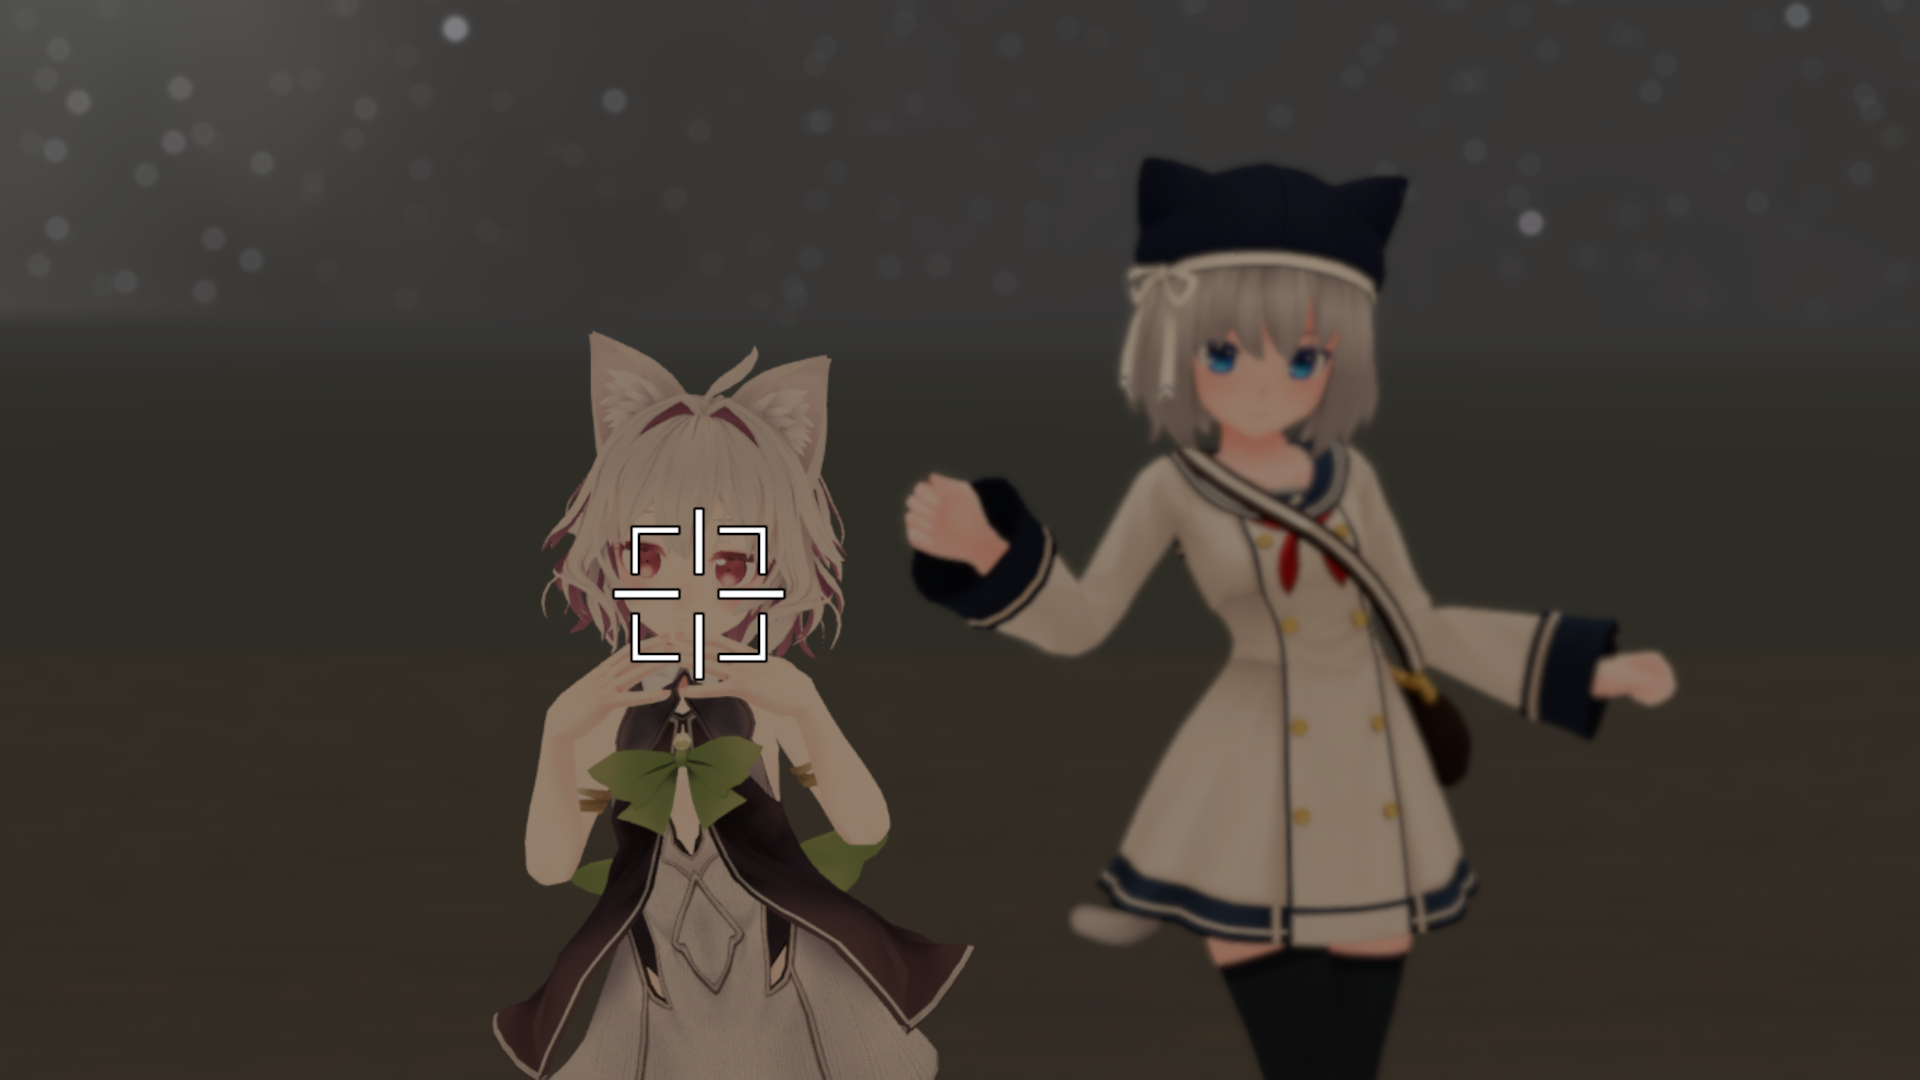
In this mode, the focus adjusts to the point on the preview screen where the cursor is located. You can move this cursor by touching the preview screen with the index finger of the hand without the camera.
Face AF
-
VirtualLens2
-
Image Control
-
Focus Control
-
AF Mode
-
 Face AF
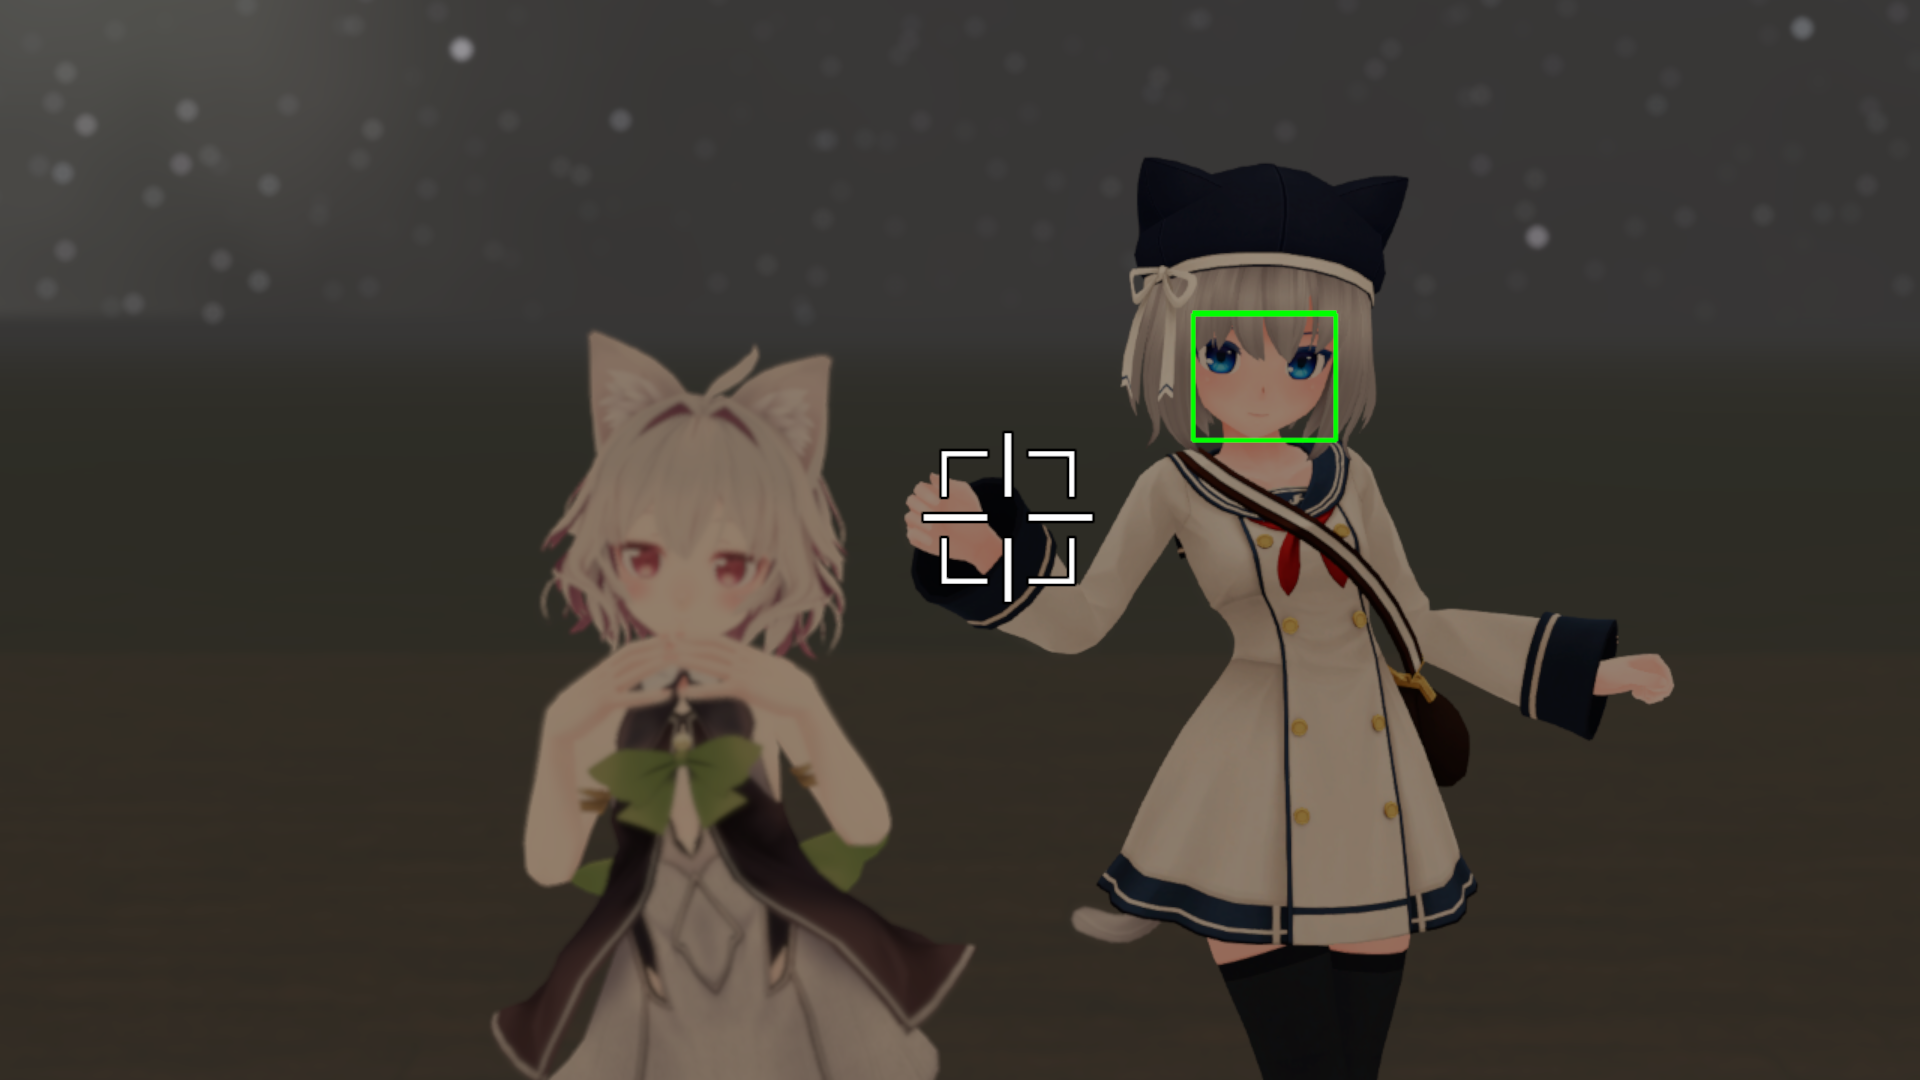
Face AF detects and focuses on the avatar’s face or eyes in the current image. If there are multiple faces in the frame, you can select which face to focus on by touching the preview screen with your index finger.
Selfie AF
-
VirtualLens2
-
Image Control
-
Focus Control
-
AF Mode
-
 Selfie AF
Selfie AF focuses on the eyes of the person taking the photo. It is a lightweight and stable option compared to Face AF, making it ideal for use when there is no need to focus on other players.
Autofocus Parameters
Face Detection Switching Speed
-
VirtualLens2
-
Image Control
-
Focus Control
-
 Tracking Speed
When using Face AF, if the detection of the tracked face fails, the system will attempt to switch focus to a nearby face from the last detected point. This parameter controls the speed at which the system expands the search range to find a new tracking target.
Increasing the speed reduces the time during which there is no focus on any subject in situations with frequent changes in subjects. However, it may lead to unintentional changes in focus to different individuals if the face detection is unstable. Conversely, decreasing the speed ensures stable focus even with unstable face detection, but it takes more time for the system to switch to a new subject automatically.
Focus Adjustment Speed
-
VirtualLens2
-
Image Control
-
Focus Control
-
 Focusing Speed
This parameter adjusts the speed at which the point where the autofocus sets the focus moves. Slowing down this speed results in a gradual change in distance to the focus plane over time.
Manual Focus
-
VirtualLens2
-
Image Control
-
 Manual Focusing
For manual focus, set the distance to the focal plane. The adjustable range can be configured during setup, within the “Min Focus Distance” to “Max Focus Distance” range. When this parameter is set to 0%, autofocus is used.
3 - Position and Orientation Control
Auto Horizon Leveling
-
VirtualLens2
-
 Transform Control
-
 Auto Leveler
Auto Horizon Leveling cancels out roll rotation of the camera, ensuring it remains horizontally or vertically aligned. If Auto Snap is selected, it snaps the rotation in 30-degree increments.
Stabilization
-
VirtualLens2
-
Transform Control
-
 More
More
-
 Stabilizer
Stabilization minimizes the impact of small tremors by gently modulating the camera’s movements and rotations. Enabling stabilization will replace the camera model with an alternative model to prevent reflections.
Fix to World Space
-
VirtualLens2
-
Transform Control
-
 Drop/Reposition
Fixing the camera to the world space prevents it from following your hand movements.
Reposition
-
VirtualLens2
-
Transform Control
-
Drop/Reposition
Reposition mode allows the camera, which is fixed in the world space, to be moved manually. In this mode, the camera follows your hand movements as if you were physically near the camera.
Reposition Movement Scaling
-
VirtualLens2
-
Transform Control
-
More
-
Reposition Scale
In reposition mode, you can scale the camera’s movement based on your hand movement. The scaling factor can be set to 1x, 3x, 10x, or 30x. When set to 1x, the camera moves exactly as your hand moves.
Camera Retrieval
-
VirtualLens2
-
Transform Control
-
 Pickup
Camera retrieval mode brings back the camera to your hand when it is fixed in the world space, repositioning, or any other state.
Save and Load Camera Positions
-
VirtualLens2
-
Transform Control
-
More
-
 Pins
Pins
You can store up to four different camera positions and recall them later. To record the current camera position, press and hold Action Menu’s Pin [1-4] button for more than 1 second. To recall a stored position, press the corresponding Pin [1-4] button briefly to move the camera to the recorded location and fix it in the world space.
Drone Mode
-
VirtualLens2
-
Transform Control
-
 Drone
Drone
Drone mode allows you to control the camera as if it were a drone. To enter drone mode, slightly extend both hands in front of you and select the Drone mode option from the Action Menu. In this mode, 2D Puppet opens, and you can control the camera’s orientation with the direction of your hand which was the camera attached and the left-right input of 2D Puppet. The direction and speed of camera movement are controlled using the gizmo and the white ball appearing at your hand’s location. Zoom control is managed by the up-down input of the 2D Puppet. The white ball constantly follows the controller hand and moves further away from the gizmo’s center to increase the movement speed. Additionally, by quickly flicking the stick left or right twice with the 2D Puppet, the drone’s orientation can be rotated by 180 degrees.
To exit Drone Mode, press the trigger button to close 2D Puppet. The camera will return to a fixed position in the world space.
Tip
If you find the drone’s movement too fast or too slow, you can adjust the speed based on your setup parameters. Refer to the configuration reference for details.Quick Selfie
-
VirtualLens2
-
Transform Control
-
More
-
 Quick Selfie
Reverses the camera’s orientation to face the photographer. The larger the value, the further the camera position will be. To revert, retrieve the camera using Pickup.
4 - Other Features
Preset Recall
-
VirtualLens2
-
 Quick Calls
You can recall preset settings that you prepared during setup. This allows you to quickly configure commonly used values for focal length, aperture, exposure, or a combination of these. For more details about preset settings, refer to the Configuration Reference.
Hide Specified Meshes
-
VirtualLens2
-
 Advanced Settings
-
 Mesh Visibility
You can hide specified meshes, which you set up during the configuration. Hiding these meshes affects all other players, but it won’t work if safety settings have disabled animations.
Preview Screen Info Display Settings
You can configure the information displayed on the preview screen. To change the default settings, adjust the parameters during setup.
Grid
-
VirtualLens2
-
Advanced Settings
-
 Display Settings
-
 Grid
Grid
This option lets you display gridlines on the preview screen. You can choose between options such as Hidden, 3x3, 3x3 with Diagonals, 6x4, or a Custom Grid.
Configuration Info
-
VirtualLens2
-
Advanced Settings
-
Display Settings
-
 Information
This setting displays values like focal length, aperture, etc., in common units rather than percentage notation.
Level
-
VirtualLens2
-
Advanced Settings
-
Display Settings
-
 Level
Level
It shows a visual level that indicates the camera’s tilt.
Focus Peaking
-
VirtualLens2
-
Advanced Settings
-
Display Settings
-
 Peaking
Focus peaking highlights the area in focus. You can choose to enable this feature at all times, only in manual focus mode, or disable it.
Mask Settings
-
VirtualLens2
-
Advanced Settings
-
 Mask
Mask
When shooting with VirtualLens2, you can select which objects should be visible through the camera.
Local Player
-
VirtualLens2
-
Advanced Settings
-
Mask
-
 Local Player
Choose whether to display the shooter’s own avatar.
Remote Players
-
VirtualLens2
-
Advanced Settings
-
Mask
-
 Remote Player
Choose whether to display avatars of other players.
UI Elements
-
VirtualLens2
-
Advanced Settings
-
Mask
-
 UI
UI
You can select whether to show UI elements like nameplates and personal mirrors on the camera feed.
Preview HUD
-
VirtualLens2
-
Advanced Settings
-
 Preview HUD
This feature prominently displays the preview screen at the center of your view.
Internal Resolution Settings
-
VirtualLens2
-
Advanced Settings
-
 Resolution
Select the resolution for images used internally by VirtualLens2. It is recommended to match this setting with the resolution set on the VRChat standard camera.
Dealing with Scene-Dependent Issues
The constraints imposed by avatars incorporating cameras can lead to unexpected behavior depending on the world and instances. In such cases, VirtualLens2 includes options to address these issues, albeit with some trade-offs in performance or usability.
Clipping Plane Adjustment
-
VirtualLens2
-
Advanced Settings
-
 Workarounds
-
 Far Plane
Temporarily relaxes the far clipping plane limit. If distant objects are not being captured in extremely large worlds, try adjusting this setting.
However, unnecessarily increasing this limit may lead to increased rendering load and visual artifacts such as Z-fighting. Please be mindful of these issues when making adjustments.
Configuration Options
- Default: Uses the Far Plane value specified during setup as the upper limit.
- 10x: Uses 10 times the specified Far Plane value as the upper limit.
- 100x: Uses 100 times the specified Far Plane value as the upper limit.
Technical Background
In VRChat, the maximum rendering distance for a player’s view or the built-in camera is determined by the world settings. However, since avatar-integrated cameras cannot reference world settings, VirtualLens2 applies a predefined limit (default: 5000m) as the upper boundary.
Arbitrarily increasing this value can lead to visual degradation due to precision loss, but some worlds require greater viewing distances. This feature allows users to temporarily adjust the limit, balancing both needs.
Enable Depth Texture Generation
-
VirtualLens2
-
Advanced Settings
-
Workarounds
-
 Depth Enabler
Forces the generation of depth textures during VirtualLens2 capture to stabilize the operation of visual effects that depend on them.
Configuration Options
- Disable: Does not force depth texture generation.
- Enable: Forces depth texture generation. (Default setting)
Technical Background
Some worlds utilize custom shaders for special visual effects that rely on depth textures (_CameraDepthTexture). If depth textures are not generated, the expected visual results may not be achieved. This feature enables a faint directional light to ensure that depth textures are generated even for avatar-integrated cameras, improving effect stability within VirtualLens2.
However, if certain objects in a scene are highly affected by weak lighting, their appearance may change significantly. In such cases, temporarily disabling this setting is recommended.
Filling Depth Textures
-
VirtualLens2
-
Advanced Settings
-
Workarounds
-
 Depth Cleaner
Reduces the impact of effects that use depth textures (_CameraDepthTexture) on the built-in camera by clearing the depth texture with a uniform value during built-in camera rendering.
Configuration Options
- Disable: Does not clear the depth texture of the standard camera.
- Nearest: Clears the standard camera’s depth texture using its Near Plane value.
- Farthest: Clears the standard camera’s depth texture using its Far Plane value. (Default setting)
Technical Background
Some worlds apply post-processing effects such as depth-of-field simulation and Screen-Space Ambient Occlusion, which rely on depth textures (_CameraDepthTexture). If these effects use depth textures captured from the built-in camera’s viewpoint, unintended artifacts may appear.
This feature minimizes such unintended effects by filling the depth texture with a uniform value, rendering these effects largely ineffective, and thus reducing their impact on the output.