Upgrade Guide
Basic Steps
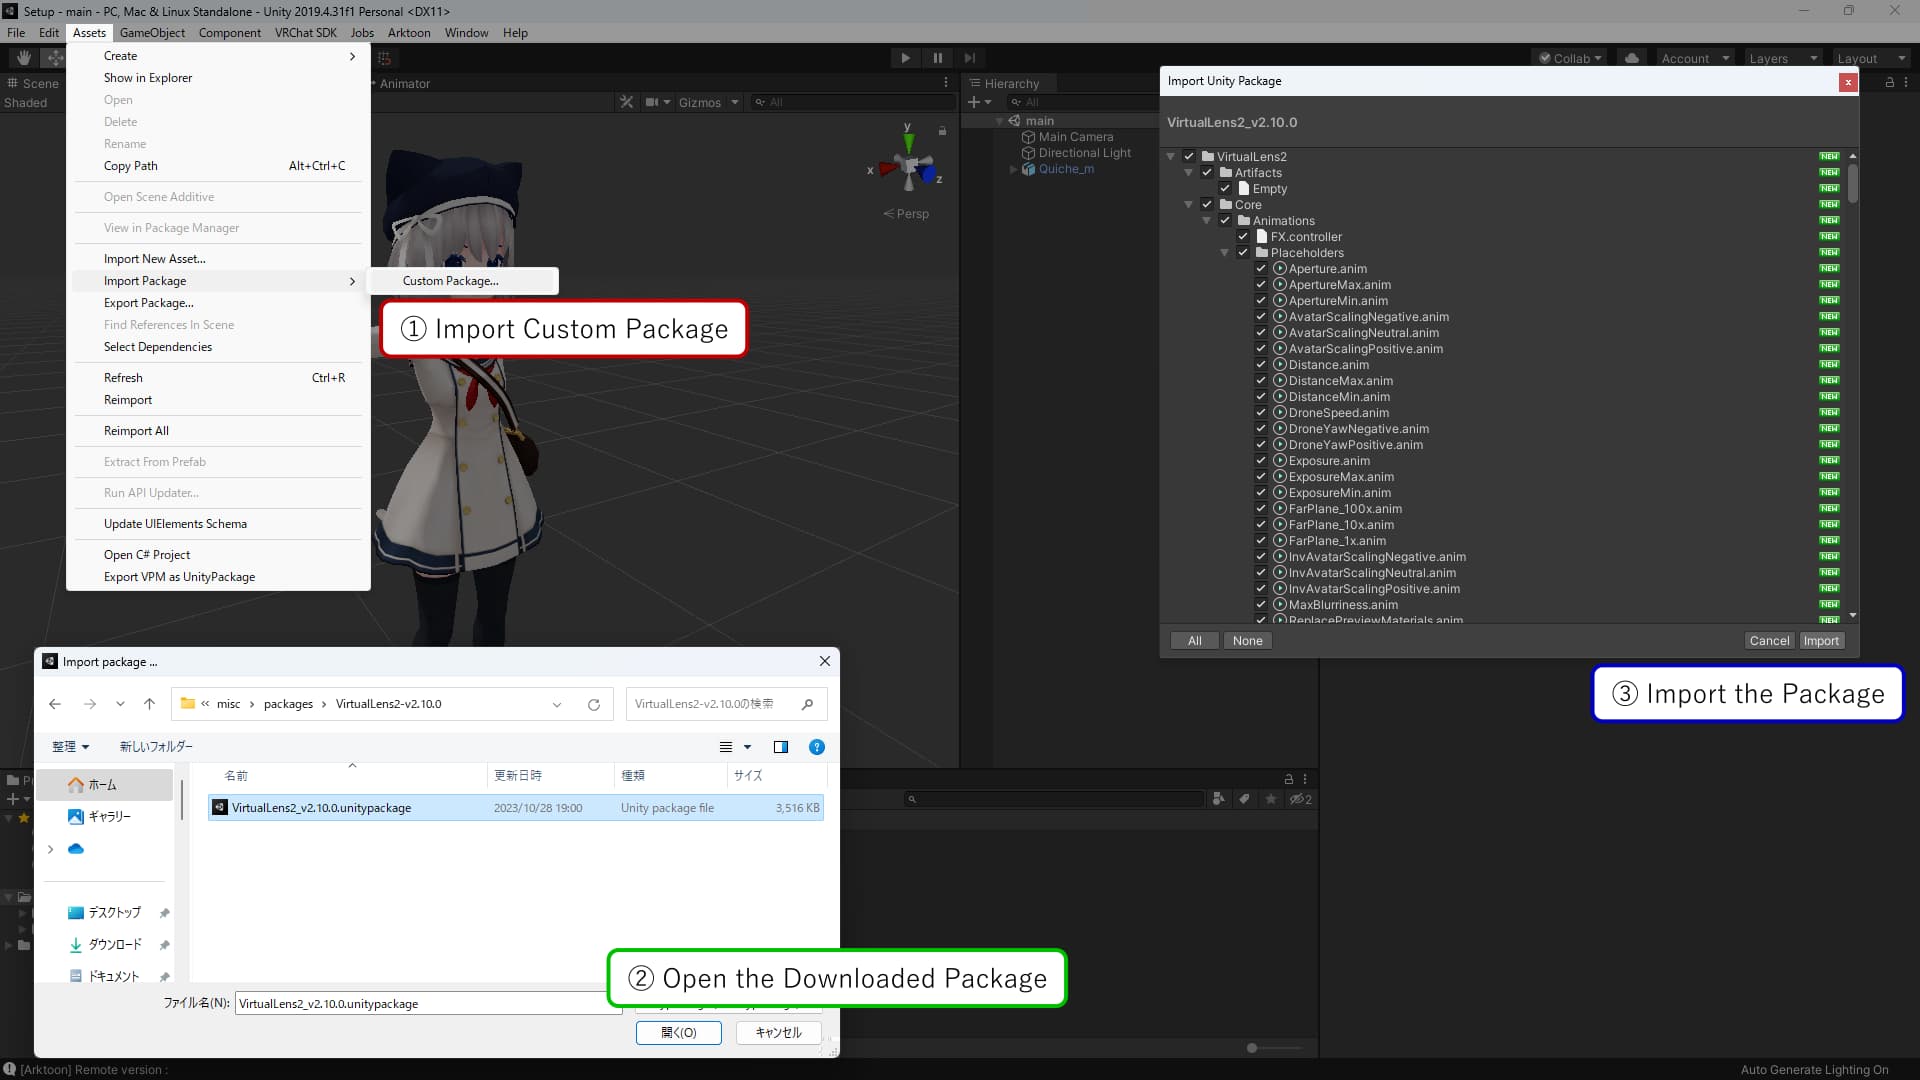
Importing the Unitypackage File
Import the Unitypackage file of the latest version that you downloaded (VirtualLens2_v2.x.x.unitypackage) to overwrite.

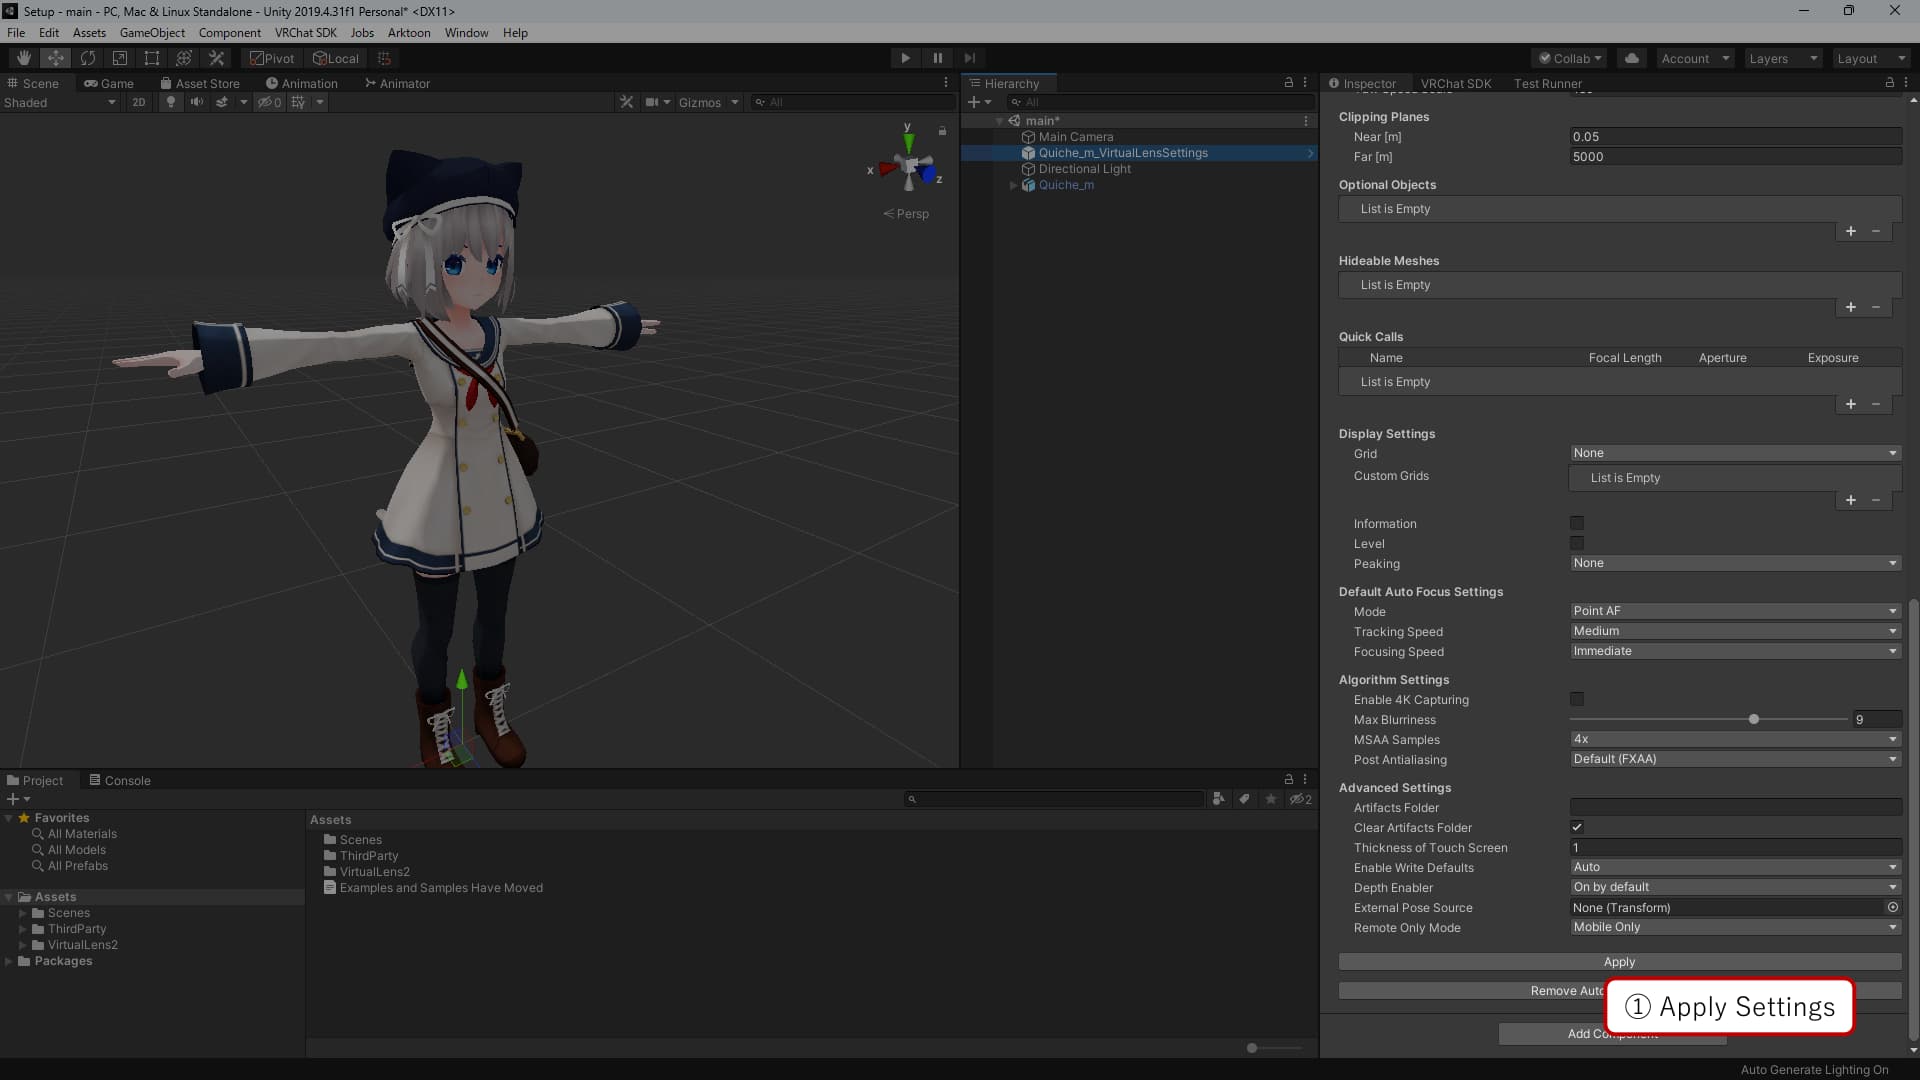
Reapplying Settings (For Destructive Setup Only)
Press the “Apply” button in the VirtualLens Settings component that was generated during the initial setup to update the data within your avatar.
Tip
This step is not necessary if you used the non-destructive setup. After importing the package, simply re-upload your avatar to apply the updates.
Version-Specific Steps
Updates from v2.10.4 or Earlier
Starting with VirtualLens2 v2.11.0, VRCSDK 3.7.0 or later is required. Additionally, this version of VRCSDK only supports Unity 2022. If your project is currently using Unity 2019, an upgrade to Unity 2022 will be necessary.
Updates from v2.9.9 or Earlier
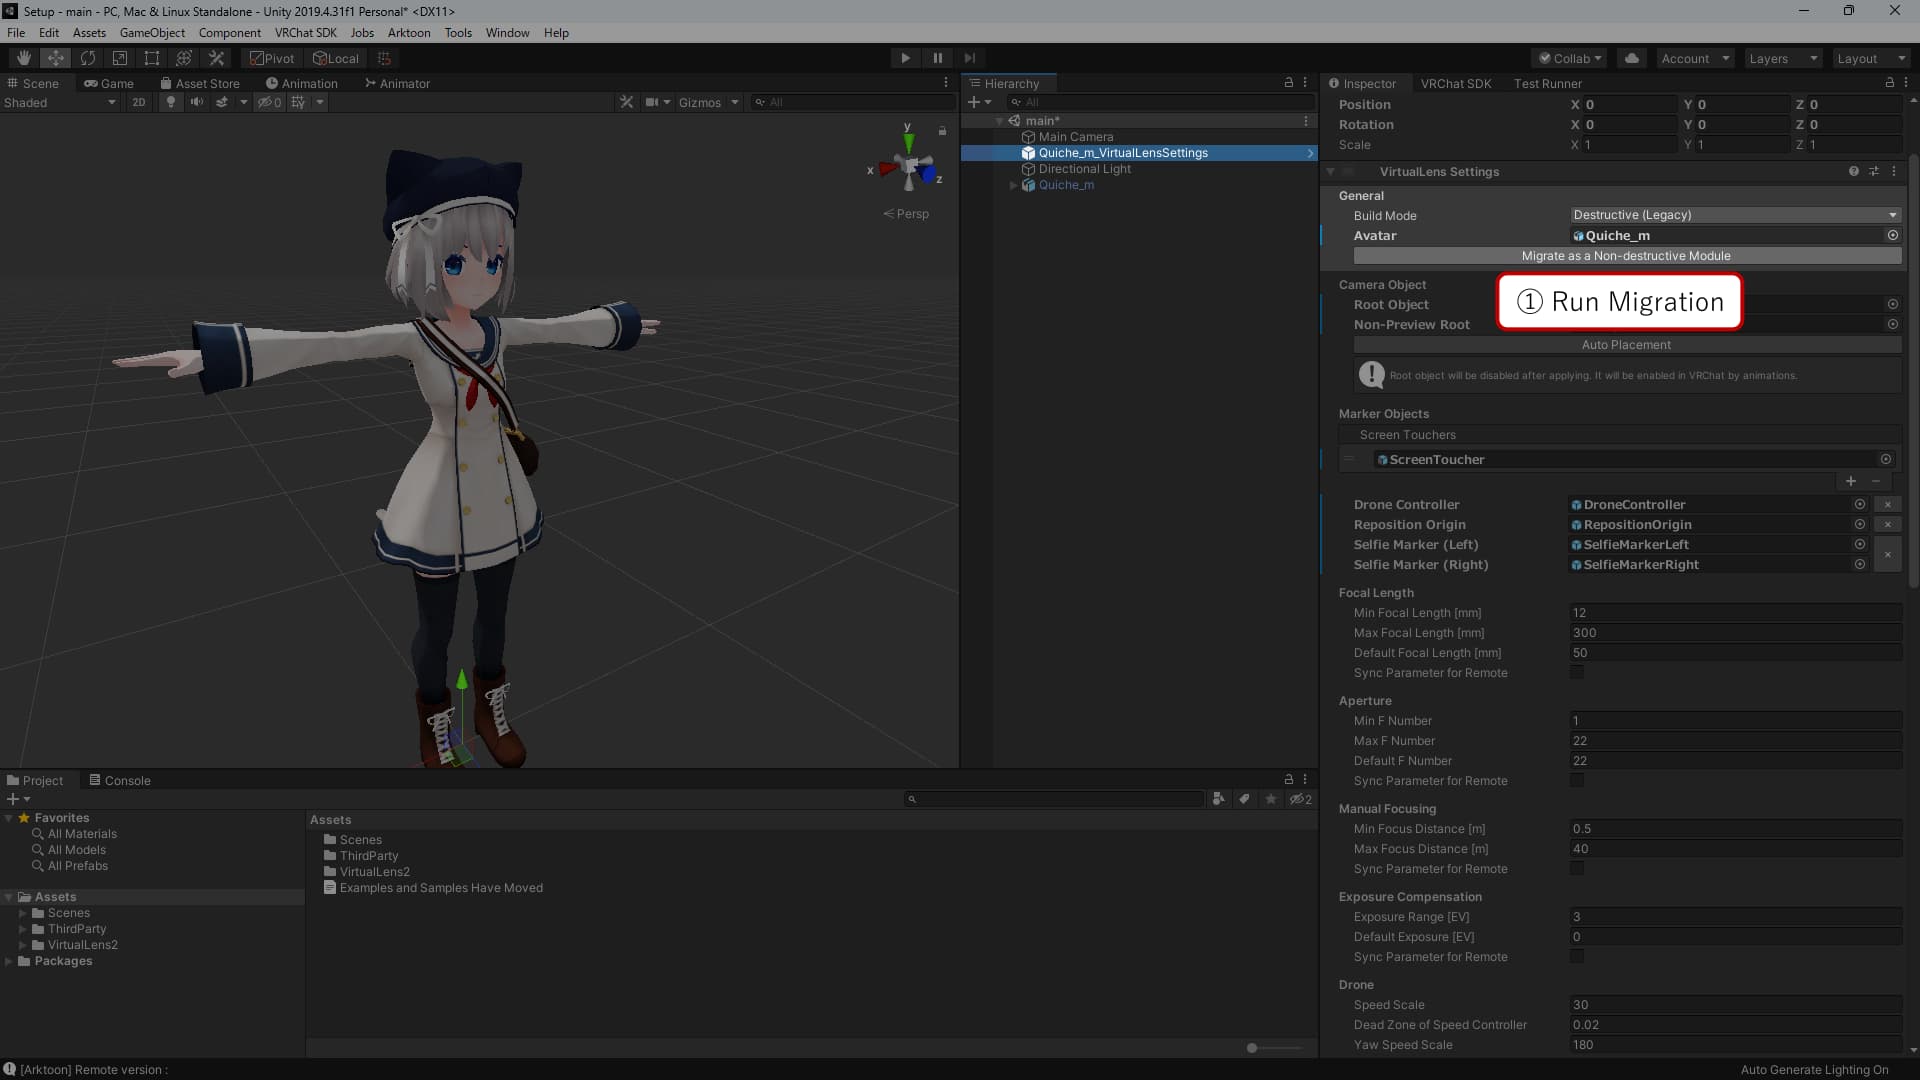
Starting from VirtualLens2 v2.10.0, it is recommended to use the non-destructive setup. If you set up VirtualLens2 with a version earlier than v2.9.9, you can migrate to the non-destructive setup by importing Modular Avatar (version 1.8.0 or later) into your project and pressing the “Migrate as a Non-destructive Module” button in the VirtualLens Settings component.
Once you have migrated to the non-destructive setup, you won’t need to reapply settings for future updates.

Updates from v2.8.5 or Earlier
Starting from VirtualLens2 v2.9.0, default settings are provided through a prefab (VirtualLens2/Prefabs/DefaultSettings.prefab). The settings objects generated automatically by the setup helper in versions earlier than v2.8.5 are not instances of this prefab. To ensure that parameter adjustments in future updates are correctly reflected, it is recommended to replace the current settings objects with instances of the prefab.
To replace the settings objects, press the “Replace by Prefab Instance” button at the bottom of the VirtualLens Settings component to generate instances of the prefab with the current values, as needed.